Hello again from dark and stormy Brooklyn!
I know that it’s been a couple of weeks since my last project post and I feel really, really bad about it. I hope I can make it up to you, though, with my first foray into the world of softies.
What are softies? Well, according to softiemaking.com, softies are stuffed animals; but what makes them different from all the other stuffed animals out there is that they are made by had with lots of love. Ahhhhhhhhhhhhhhhhh.So as I mentioned in my previous post, this project started off by accident for me. The first incarnation I was trying to attempt did not turn out so well for me. What follows is what I came up with instead. ENJOY!!
Materials
Sewing machine
Scissors
Straight pins
Ruler (I like to use quilting rulers because they’re clear and easy to create parallel lines and right edges with)
Pencil
3 ¼-yds of acrylic felt (I used safety orange for the main color and cream white and pale pink for the accent colors)
Sewing thread to match felt
Fiberfill stuffing
Pattern (of your own design)

Step-by-Step:
 |
| Lay out the pattern pieces on the felt and trace with a pencil. Once traced, cut out each piece. Cut 2 pieces of the cat outline in the main color. |
 |
| Measure out a 2”x50” strip of the main color fabric for the joining gusset. Also measure out a 2”x5” strip in the cream color. |
 |
| Free sketch the tail piece in the dominant accent color. |
 |
| Pin the inner ear pieces to the front silhouette piece. Then top stitch ⅛” from the inside edge of the ear accent. |
 |
| Pin the front “V” accent between the ears of the front silhouette and top stitch ⅛” from the inside edge. Repeat with the back “V”. |
 |
| Pin the tummy accent to the front silhouette piece and top stitch ⅛” from the inside edge of the tummy accent. Once the tummy accent is attached embroider or quilt the piece in any design you choose. |
 |
| Pin the tail to the back silhouette. Top stitch ⅛” from the inside edge of the tail. |
 |
| Stitch the white gusset piece to the orange gusset piece. This will be the bridge between the front and back “V” sections. |
 |
| With right sides facing, pin the gusset to the front silhouette from the tip of one ear, around the head and body, and to the tip of the other ear. NOTE: the neck curve will require a fair amount of ease so make sure to leave some room for yourself with the gusset. Stitch ¼” around the piece. |
 |
| Repeat this step with the back silhouette. |

 |
| Pin the gusset section to one ear and the bridge. Stitch ¼” from the edge. |
 |
| Snip the seam allowance on all curved sections for both the front and the back. |
 |
| Turn inside out. (Yes, that is Elliot Spitzer. I was watching Client 9: The Rise and Fall of Elliot Spitzer when I was making this =) |
 |
| Stuff it! |
 |
| Stuffed. |
 |
| Pin the remaining open gusset sections to the bridge and ear. NOTE: You’ll need to make sure and fold under the edges ¼”. |
 |
| Slip stitch the gusset closed. |
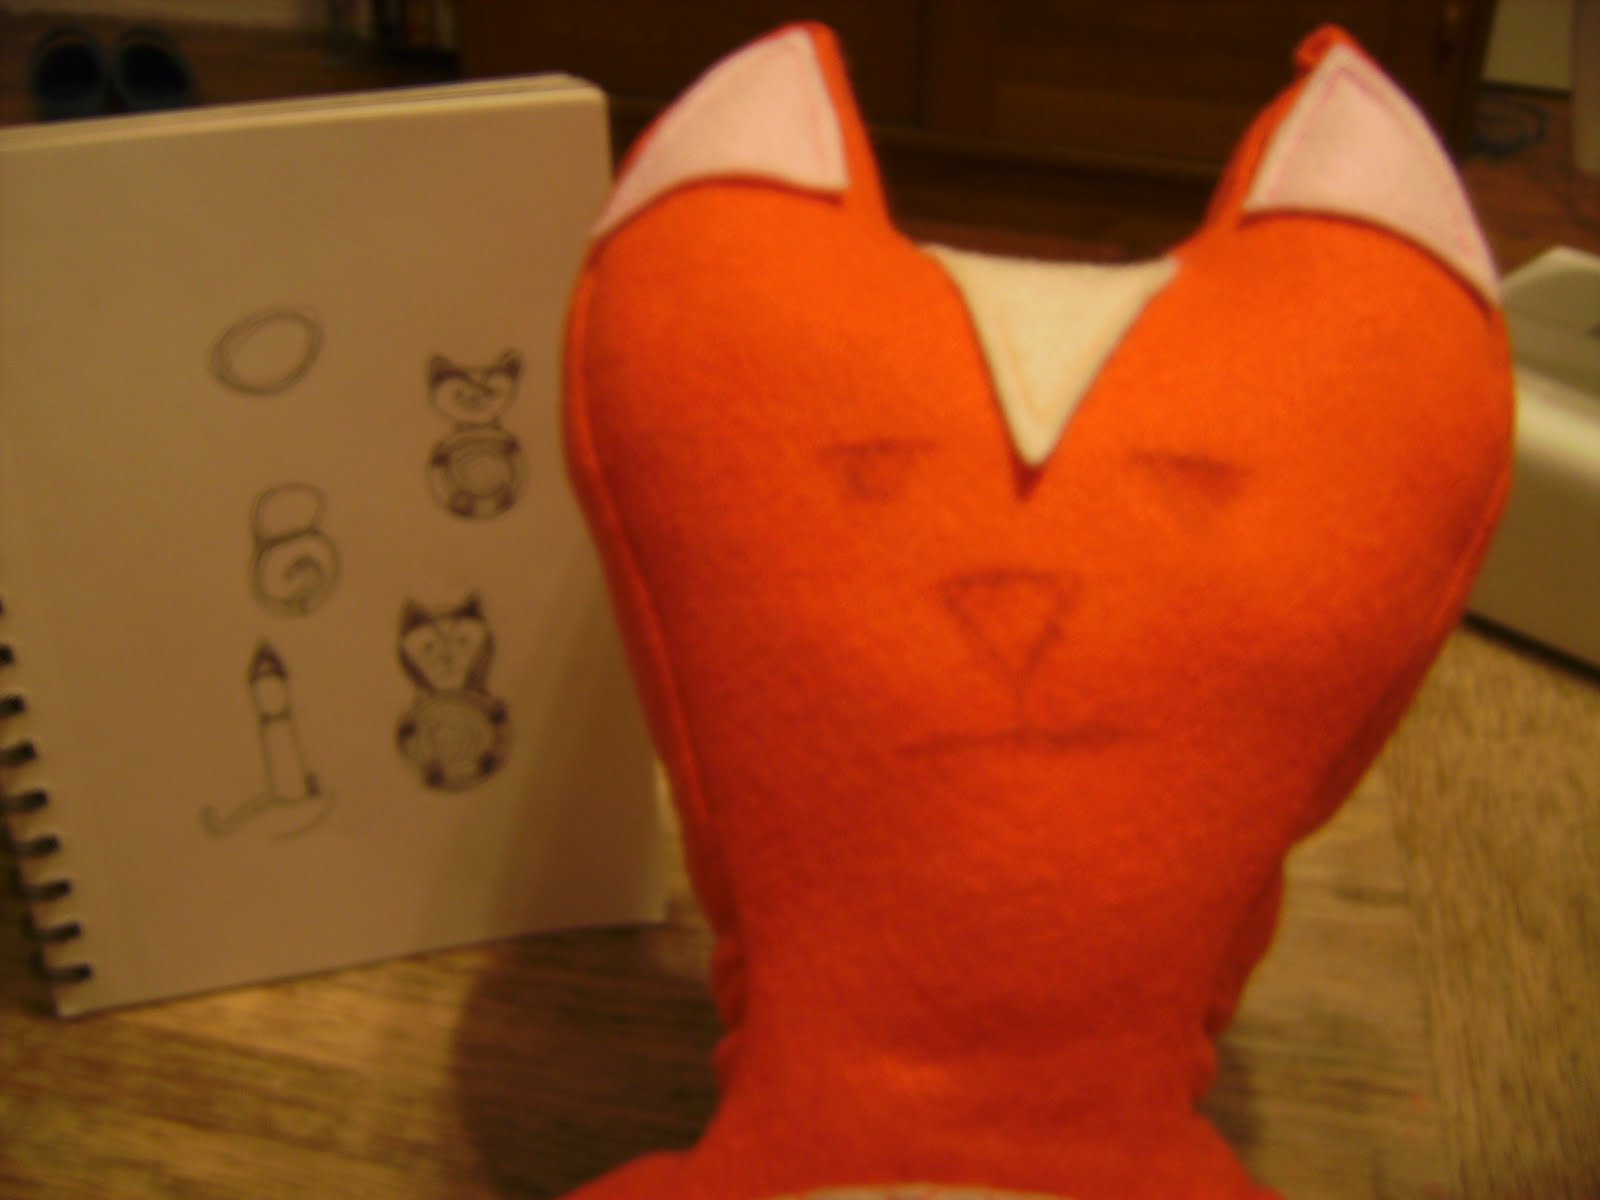 |
| Sketch out the face you want the kitty to have (make sure to use pencil.) |
 |
| Embroider the features. I used three strands of embroidery floss. Applique fabric, buttons, etc. would be cute too! |
 |
| Attach the whiskers. I used white embroidery floss that had all six strands. I made one small stitch, made a knot, and then trimmed it to the length I wanted. |
 |
| Finished front. |
 |
| Finished back. |
 |
| The happy birthday girl!!! |

When the softie was opened, one of the other party goers mentioned that it looked a lot like Boo-boo Kitty from ‘Laverne & Shirley’. It was no surprise to me that I unconsciously designed a Boo-boo Kitty considering how much I loved that show when I was a kid.
This was definitely a difficult first go at softie making, but a satisfying one too. It wasn’t as simple as I thought it was going to be, so if you’re thinking of trying out softie making I would definitely suggest finding a book or a website with simple and easy designs. A couple that I like are this squirrel from We Wilsons and this sock dog from Create Studio. There’s also a really cool biannual magazine called Stuffed. I saw it the other day in Barnes & Noble and immediately started drooling with lust and envy.
This was definitely a difficult first go at softie making, but a satisfying one too. It wasn’t as simple as I thought it was going to be, so if you’re thinking of trying out softie making I would definitely suggest finding a book or a website with simple and easy designs. A couple that I like are this squirrel from We Wilsons and this sock dog from Create Studio. There’s also a really cool biannual magazine called Stuffed. I saw it the other day in Barnes & Noble and immediately started drooling with lust and envy.
No comments:
Post a Comment